Use PowerShell commands to compress and adjust the space occupied by virtual files VHD/VHDX
Original link: https://www.itylq.com/powershell-optimize-vhd-filespace.html
Release date: 2024-04-04 Migration time: 2026-03-21
Although the dynamic space expansion mode is selected when creating a VHD/VHDX virtual file, unfortunately, as long as a file is inserted into it to "expand" it, the size of the VHD/VHDX file will not be automatically reduced even if the file is subsequently deleted. The large virtual file occupancy brings inconvenience to the copy and use, and the virtual files need to be compressed and adjusted.
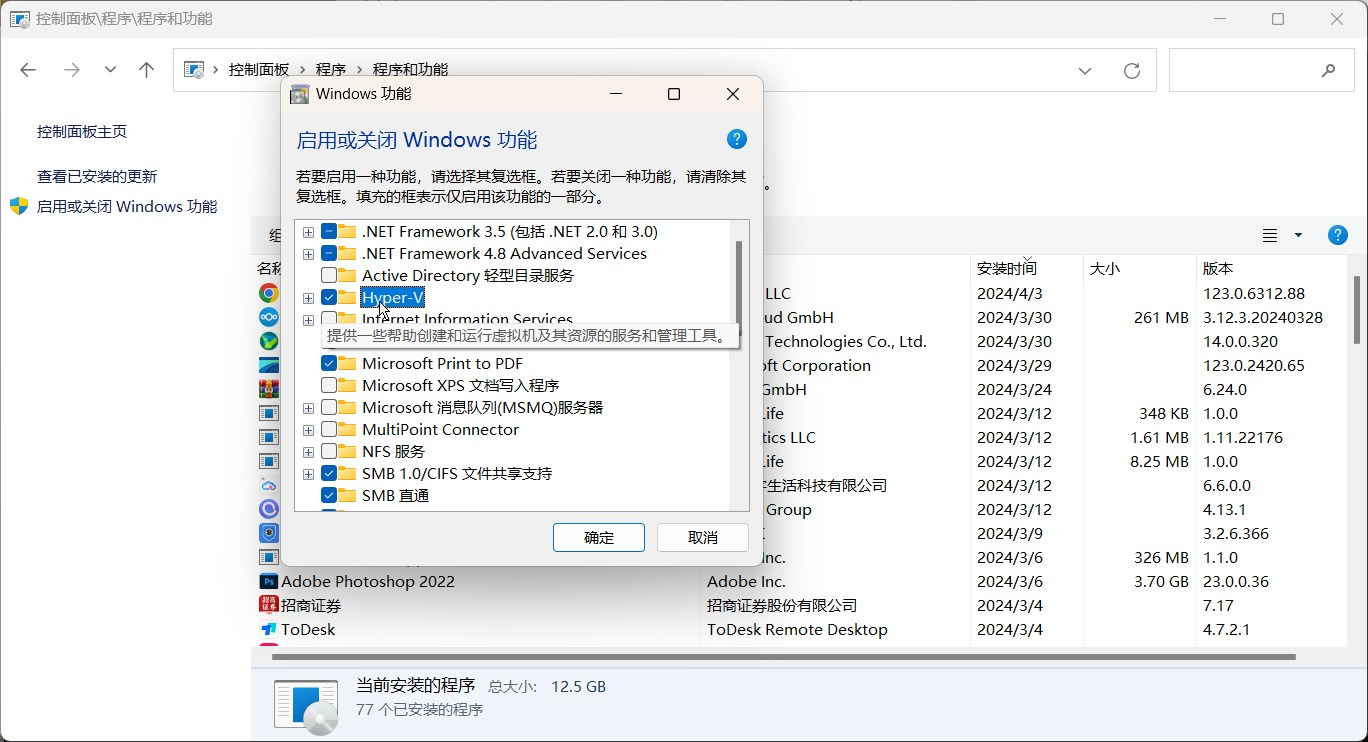
- Check the Windows system functional components to ensure that the "Hyper-V" function is enabled. Path: Control Panel-Programs-Programs and Features-Turn Windows features on or off. If you enable the Hyper-V function for the first time, you need to restart the system for it to take effect.
- Run PowerShell as an administrator and use the Optimize-VHD command. Details are as follows:
Replace the quotation marks with the full path to your VHD/VHDX virtual file.
- Just wait for completion. The test results show that the space occupied by VHDX has dropped from more than 60 GB to more than 40 GB. The effect is still very obvious.

For more VHD/VHDX optimization methods, please refer to Microsoft official documentation.
This article was moved from WordPress to MkDocs